
Want a quick checklist to keep your clear XL square tips ready for clients or practice? This piece walks you through how to store them, what to avoid, how to set them up on your station, and the signs that mean it’s time to replace a box.
Store them where they stay flat, clean, and dry
Keep the box upright on a shelf or in a drawer that stays level. The molded compartments inside the package are already sorted by size, so leave the tips in their sections to protect shape and curve. Choose a storage spot with stable temperature and low humidity — a cool, dry cabinet is ideal. Strong sunlight can yellow clear plastic over time, so pick a shaded area away from window heat.
Avoid conditions that warp or contaminate tips
Plastic tips can warp if exposed to heat or direct sunlight. Don’t store them near hot lamps, heaters, or a car dashboard. Moist or steamy spaces like bathrooms speed up surface changes and make glue residue harder to remove. Also avoid dusty or oily zones: dust clings to the high-gloss finish and oils from lotions will affect glue adhesion.
Set up your station for fast access and tidy workflow
Organize one box per station and keep the sizes visible so you can grab a match quickly. Use a shallow tray or a small divided organizer to carry the most-used sizes during a service. Place glue, primer, and a lint-free wipe within arm’s reach, but not touching the tips. If you make press-on sets or practice pieces, reserve a clean area of the station for finished tips so they don’t pick up dust or stray product.
Handle and move tips without losing the curve
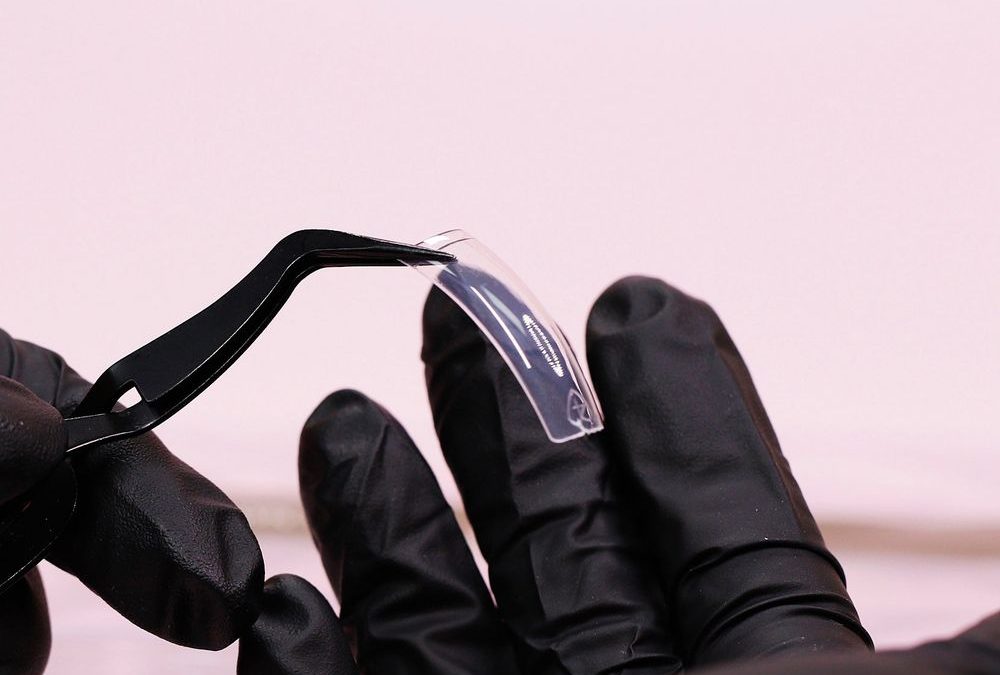
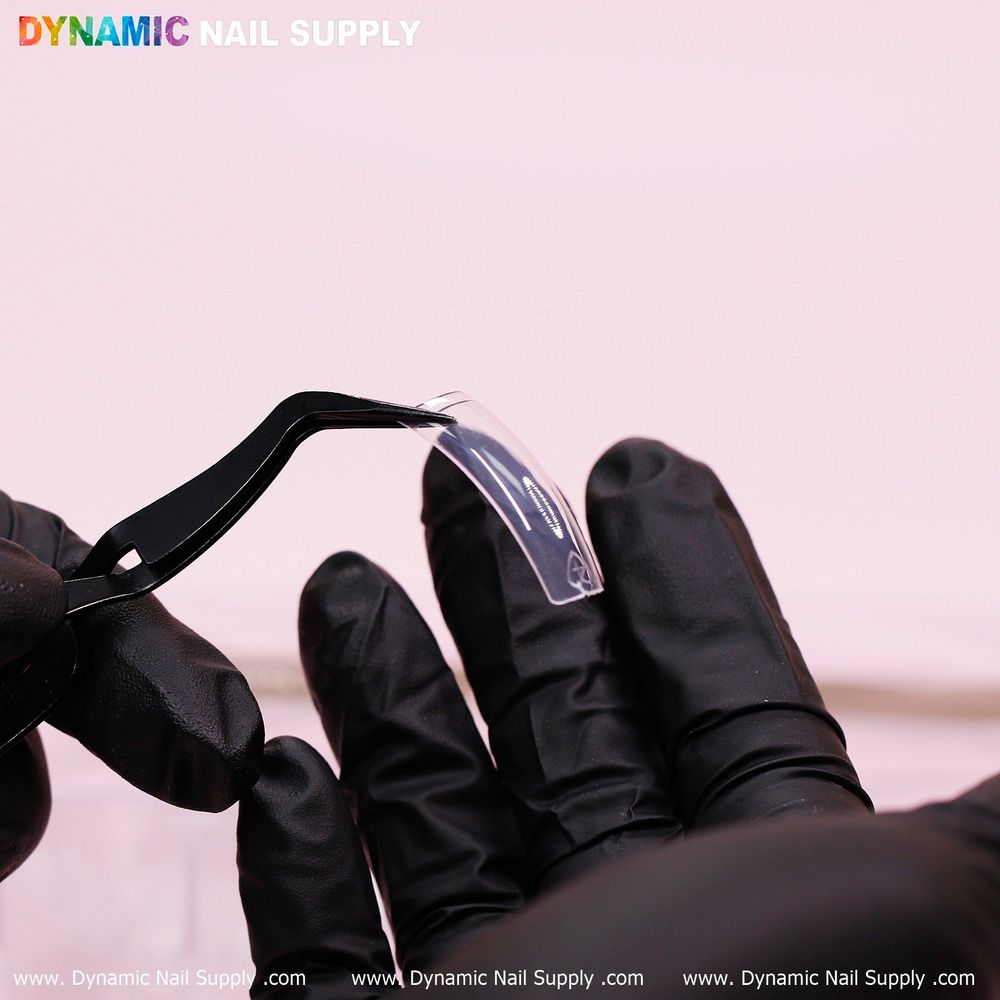
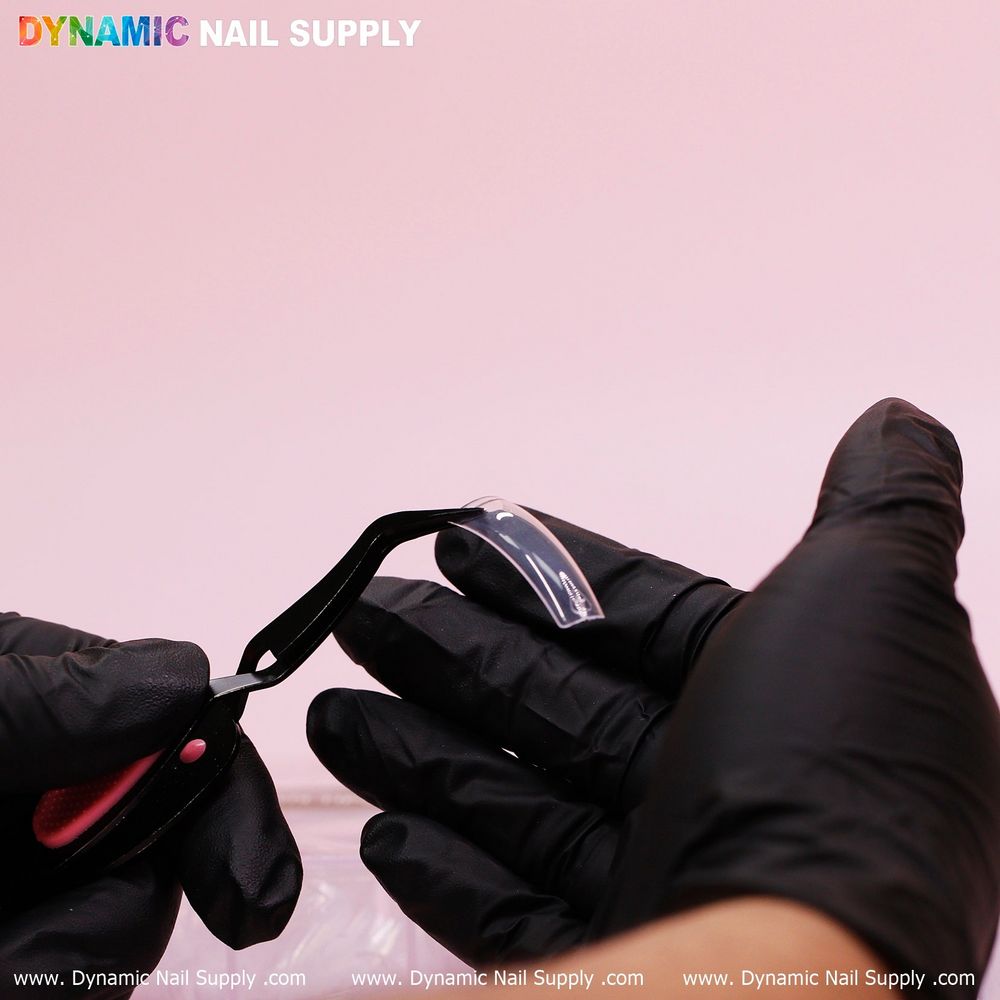
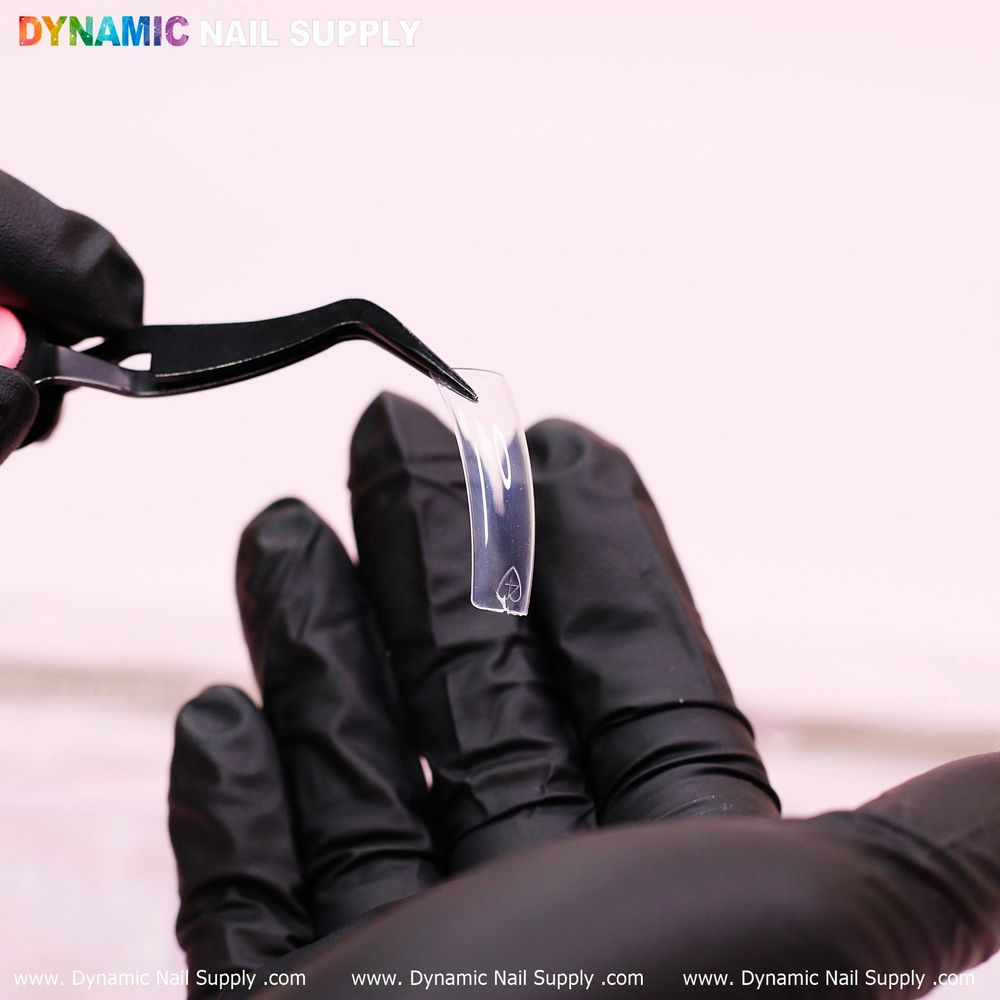
Use gloved hands or clean tweezers to pick tips from their compartments. The displayed photo shows them against pale pink while held with a dark glove; that contrast helps you see the curve and edge during selection. When fitting, support the tip at its base and avoid bending the free edge. If you press too hard while shaping or trimming, the curved profile can distort.
Signs a box is past its best
- Visible yellowing or clouding of the clear surface.
- Warped or flattened tips that no longer sit flush on a nail form.
- Persistent residue or tack that washing and wiping won’t remove.
- Chipped or brittle edges that break when you handle them.
- Compromised box dividers that let sizes mix and cause extra handling.
If you see any of these, retire that size or replace the box so you don’t risk fit issues or poor adhesion during a service.
Quick maintenance during a service
- Work from clean compartments; avoid putting used or trimmed pieces back into the box.
- Wipe any factory dust with a lint-free wipe; do this just before gluing.
- Keep a discard cup nearby for trimmings and rejected tips to prevent debris buildup on your station.
Safety and handling notes
These are plastic nail tips. Avoid open flames and high-heat sources. Use caution with sharp trimming tools and keep tips out of reach of children. If you use solvents or adhesive removers to clean tips, work in a ventilated area and follow product instructions for safe use.
Mini glossary
- Curve down: A profile where the tip arches slightly downward to match natural nail curvature.
- High-gloss finish: A smooth, shiny surface that helps polish and designs sit evenly.
- Molded compartments: Built-in sections in the box that keep sizes separated and ready to grab.
These clear XL square tips are priced at $12 at the time of listing; prices may change. When you want a reliable, transparent base for overlays, encapsulation, or press-on painting, reach for a fresh, well-stored box to avoid fit and adhesion headaches. For example, use clear XL square tips as the clean, transparent base when you make press-on sets or practice intricate chrome techniques.
One-line takeaway: Store them cool, keep them clean, and retire any tips that yellow, warp, or become brittle.