
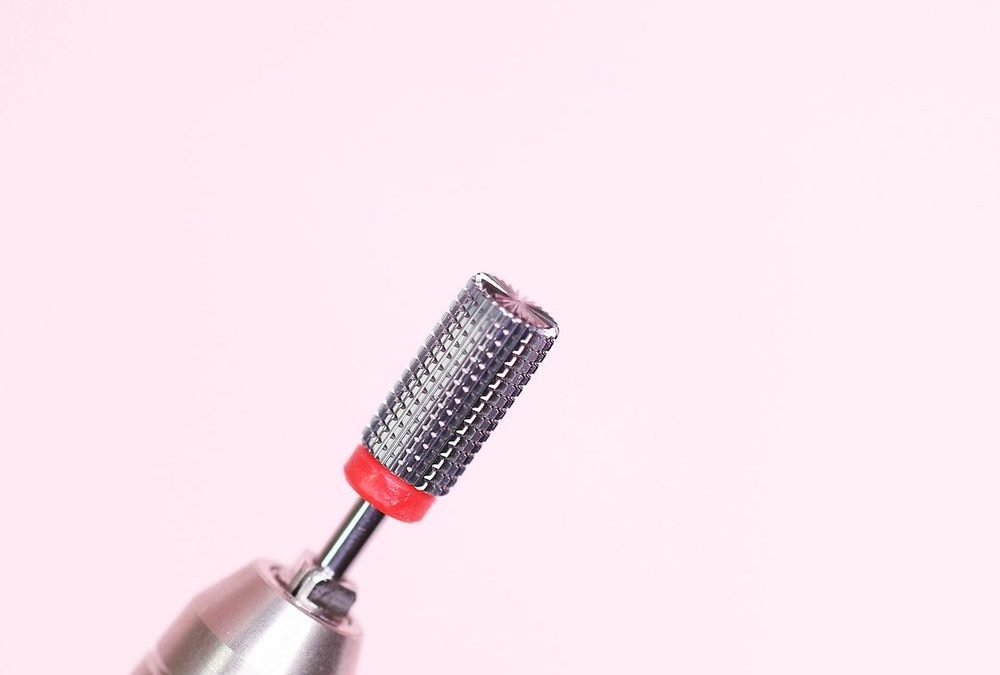
You’re about to get a simple checklist that helps you store, inspect, and preserve the Safety Barrel Bit (new) Fine grit — the raised-tooth barrel bit made to smooth acrylic and seal the cuticle. Read on for practical steps to clean raised-tooth barrel bit, spot signs of wear, organize bits on your station, and keep that bright red retention ring and metallic barrel looking salon-ready.
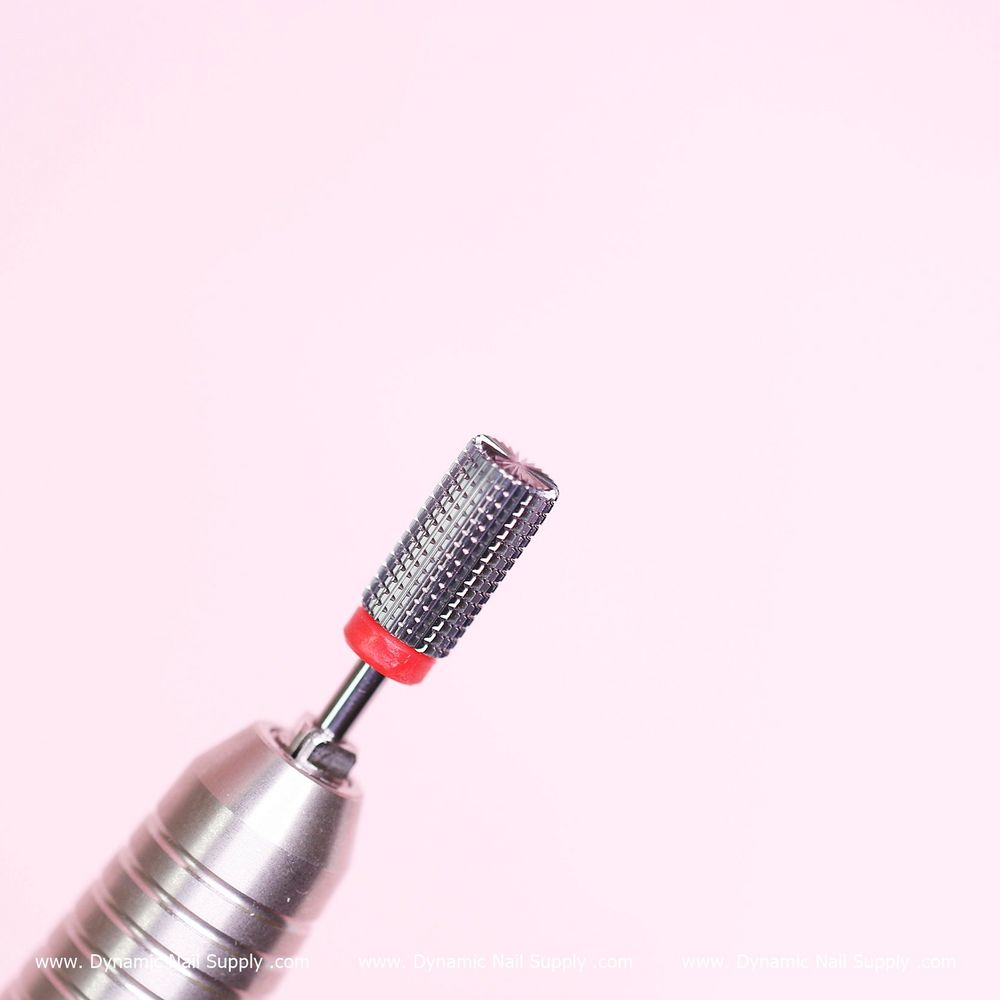
Keep debris out so the fine teeth stay sharp longer
After each use, remove bulk dust and acrylic chips while the bit is still dry. Use a small, stiff nylon brush or a dedicated bit brush and flick away loose particles with short, controlled strokes along the grooves. Work in good light so you see the tiny raised cutting teeth and the star-like end face. Avoid metal brushes or hard scraping tools that can flatten the small teeth or change the knurled profile on the metallic surface.
Use safe liquids and drying routines to avoid corrosion or residue
For stuck-on residue, briefly soak only the bit head (not the handpiece) in a bit-cleaning solution made for carbide bits or in isopropyl alcohol for a maximum of a few minutes. After soaking, brush along the cuts to free trapped particles. Rinse quickly if the cleaner requires it, then dry thoroughly with a lint-free cloth and allow air drying on a soft pale surface. The Safety Barrel Bit’s fine metallic texture and red rubber retention ring need complete drying so moisture doesn’t sit at the shaft-to-head junction.
Inspect visually under light to spot early wear and damage
Hold the bit up to a direct light and rotate it slowly. Look specifically for: rounded or flattened cutting teeth, missing teeth on the star/flower-like end face, discoloration or dark burn lines on the metal, and splitting or hardening around the bright red retention ring. If you see irregular tooth edges or broken tips, it’s time to retire the bit — those imperfections can snag acrylic and cause rough finishes or client discomfort.
Store bits to protect the knurled finish and red retention ring
Keep each Safety Barrel Bit in its own slot or foam pocket with the head covered. A soft pale blush tray or padded roll works well because it cushions the metallic barrel and keeps the small raised teeth from touching other tools. Store bits upright when possible so any residual moisture drains away from the shaft. Avoid cramped jars where teeth rub together; repeated contact dulls the fine texture faster.
Organize your station for quick access and longer life
Label slots with bit type and grit so you can reach the Safety Barrel Bit fine grit without digging. Rotate bits in regular cycles: use one for several services, then rest it in a dry spot while you use a second. This simple rotation reduces heat and wear buildup. Place frequently used bits near the front of your station and reserve a back zone for newly cleaned or quarantined bits that need full drying. When you plan a finishing pass, set the cleaned bit on a clean wipe so metal-on-metal contact won’t flatten the raised teeth.
When to replace: clear visual and performance cues
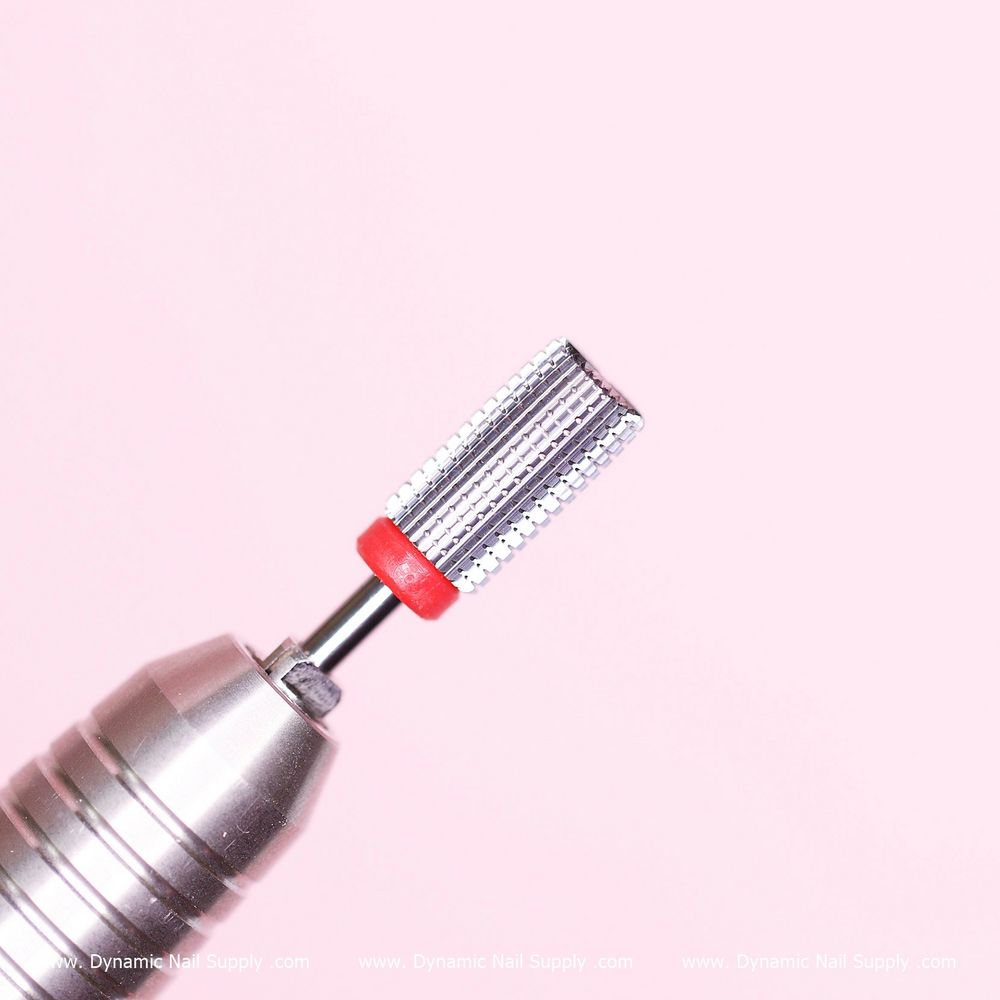
You should replace the Safety Barrel Bit fine grit when you notice any of these signs: it takes more passes to smooth acrylic, finish looks uneven or textured, you see rounded teeth under light, or the red retention ring shows cracking. Also replace immediately if the bit shows burn discoloration after a single use — that can signal structural damage. Using a worn raised-tooth barrel bit increases contact time and friction, which risks heat marks on acrylic and client discomfort.
Quick routine: daily, weekly, and monthly care
- Daily: Brush off dry dust after each service, briefly inspect the head, and store upright in a padded slot.
- Weekly: Do a shallow soak for bits with stubborn residue, brush and dry completely, then inspect the star-like end face closely under light.
- Monthly: Rotate inventory, retire any bit with flattened teeth, and clean storage trays to avoid cross-contamination of dust and debris.
When you need to prep a final sealing pass on acrylic, consider how the Safety Barrel Bit fine grit performs and whether you should use a freshly cleaned bit for that delicate edge; Safety Barrel bit fine grit
Handle and safety notes to protect clients and your tools
Always remove the bit from the handpiece before soaking or brushing. Wear eye protection when you brush dust free so particles don’t fly toward you or the client area. Let bits cool between longer finishes to avoid heat build-up in the metal — the fine raised teeth grip acrylic more aggressively when hot. Do not use excessive pressure when working; the fine grit is designed to seal and smooth with light, controlled contact.
Mini glossary: quick terms you’ll use
- Raised-tooth: small protruding cutting edges on the barrel head.
- Knurled finish: textured metallic surface with tiny ridges and teeth.
- Retention ring: the rubber ring near the shaft, here a visible bright red.
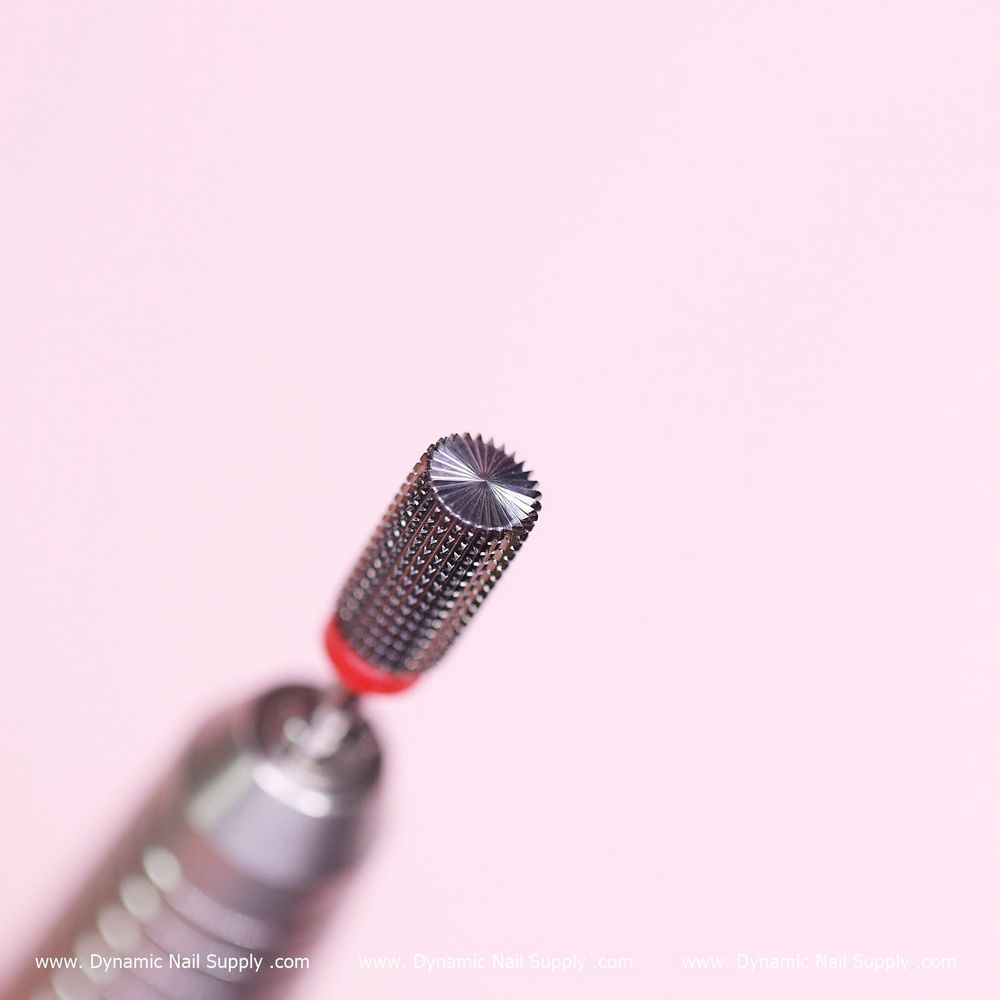
- Star/flower end face: the shaped tip profile you see in the macro photo.
Final storage tip that saves time
Keep a simple kit with a soft tray, a small nylon brush, and a labeled slot for the Safety Barrel Bit fine grit so you can follow the checklist without hunting for tools. That tidy habit protects the metallic barrel, the small raised cutting teeth, and the bright red retention ring for many services.
One-line takeaway: Store, clean, inspect, and rotate this fine-grit raised-tooth barrel bit to keep finishes smooth and clients comfortable.