
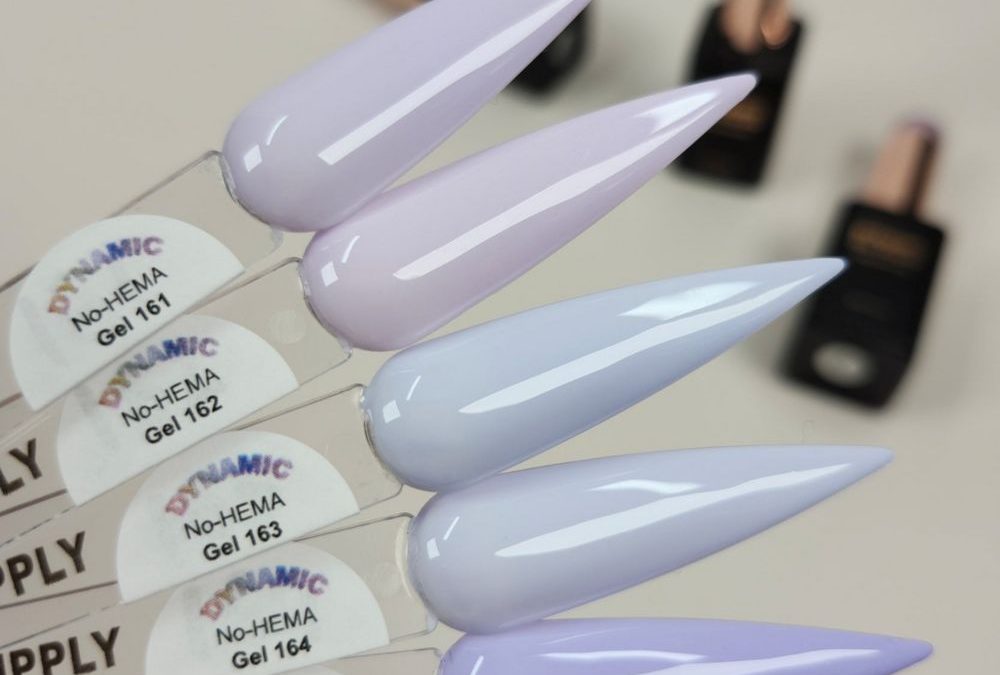
Want a checklist to keep your tonal pastel french manicure crisp from prep to finish? Below you’ll find a clear supply checklist, storage and station tips, step-by-step application for both short and long shapes, and signs to replace the gels in your kit.
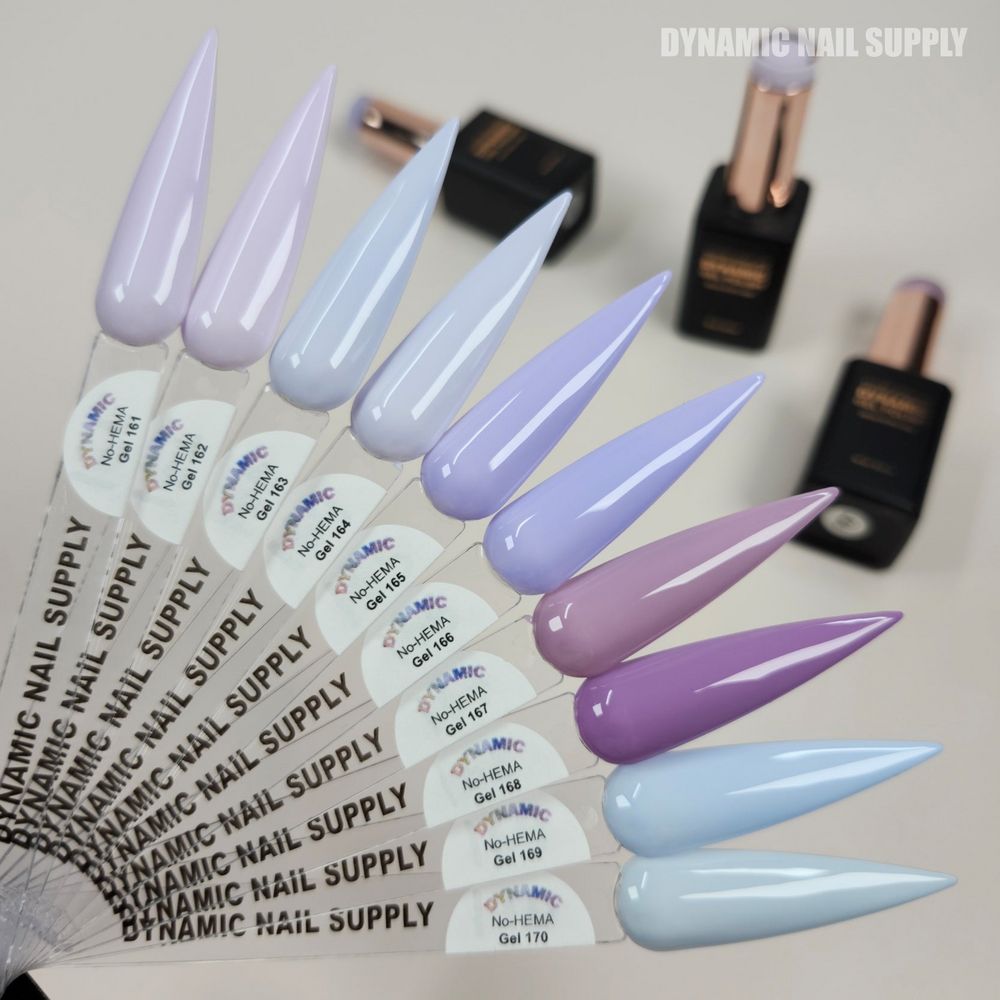
Keep your gels fresh: storage rules that preserve color and flow
Store the set upright in a cool, dry place away from direct light. These cream finish pastels—soft lavenders, muted periwinkles and baby blues—are best kept out of heat and sunlight so pigment and viscosity stay stable. A small cabinet or drawer at room temperature (around 60–75°F) is ideal. Avoid places that see wide temperature swings like windowsills, car trunks, or near HVAC vents.
Also keep caps tight. Air exposure thickens gel polish over time and can change brush performance. If a bottle sits open or loosely capped, the gel can form skins or strings when you pull the brush out. Tighten caps after each use and store bottles upright to keep the brush immersed in product, which helps maintain an even flow next service.
What to avoid so the smile line stays crisp
Don’t store gels near strong light sources. Even LED lamps emit light that, over very long periods, may cause partial curing at the lip of the bottle. Keep the set away from direct lamp light and never cure with the cap off. Avoid extreme cold too — gels that have been chilled can separate and feel stringy until warmed and mixed; repeated freeze-thaw cycles shorten usable life.
Avoid contamination. Don’t double-dip brushes into bottles if the tool touched skin or nail dust. Use a clean transfer brush or wipe excess on a lint-free wipe. Cross-contamination can create texture changes, cloudy finishes, or unintended chemical reactions between formulas.
Organize the station for speed and precision
Lay out the workflow left-to-right: cleanser, primer/bond, base coat, color bottles (arranged light to deep), top coat, and lamp. For this tonal pastel french manicure place the pale blue base shades first, then the medium and deeper lavenders for smile lines. Keep a labeled tray or tiered organizer so you and your assistant can reach the exact Gel 16x bottle quickly. A small palette or glass tile for decanting a pea-sized amount helps when you need a perfectly thin pass for the smile line.
Use two small LED dishes or glass palettes for mixing or thinning. One holds a thinned single-pass amount for the base and the other holds a slightly thicker mix for the smile line. Keep lint-free wipes, a quality fine-liner brush and a microfile within arm’s reach. That layout keeps stroke rhythm steady and helps you keep the base layer very thin, which is key to a crisp smile line.
Prep, placement and curing: the salon-friendly step-by-step
- Prep the natural nail: Shape, push cuticles, remove debris, and lightly buff the surface. Finish with a cleanser to remove dust and oils.
- Base coat: Apply a thin, even base layer and cure for 60–120 seconds per your lamp’s recommendation. A thin base protects adhesion and prevents pigmentation from seeping under the smile line.
- Base color (pale blue): Using one of the soft baby blues from the set, load a lightly wiped brush and do two thin passes. Cure each pass fully. Thin passes are less likely to flood cuticles and help the pale blue read milky rather than streaky.
- Plan the smile line: For short nails, keep the lavender smile line narrow and centered. For long shapes, place a slightly deeper lavender at the smile curve so it reads tonal against the base. Use the medium lilac or mid-lavender from the row for contrast.
- Smile line technique: Use a fine liner or the bottle brush cleaned to a point. Load a small bead, wipe once on a lint-free wipe, then place a steady stroke at the free edge. For a crisp edge, work across the nail quickly, then clean the edge with a tiny bit of cleanser on a wooden stick wrapped in a wipe before curing.
- Cure strategy: Cure the smile line immediately for 60–120 seconds. This locks the crisp edge. If you need to refine, use a thin uncured bead at the edge and then cure after adjustment.
- Top coat: Seal with a high-gloss top coat and cure fully. The cream finish in this set responds well to a glossy seal that enhances the pastel look without adding shimmer.
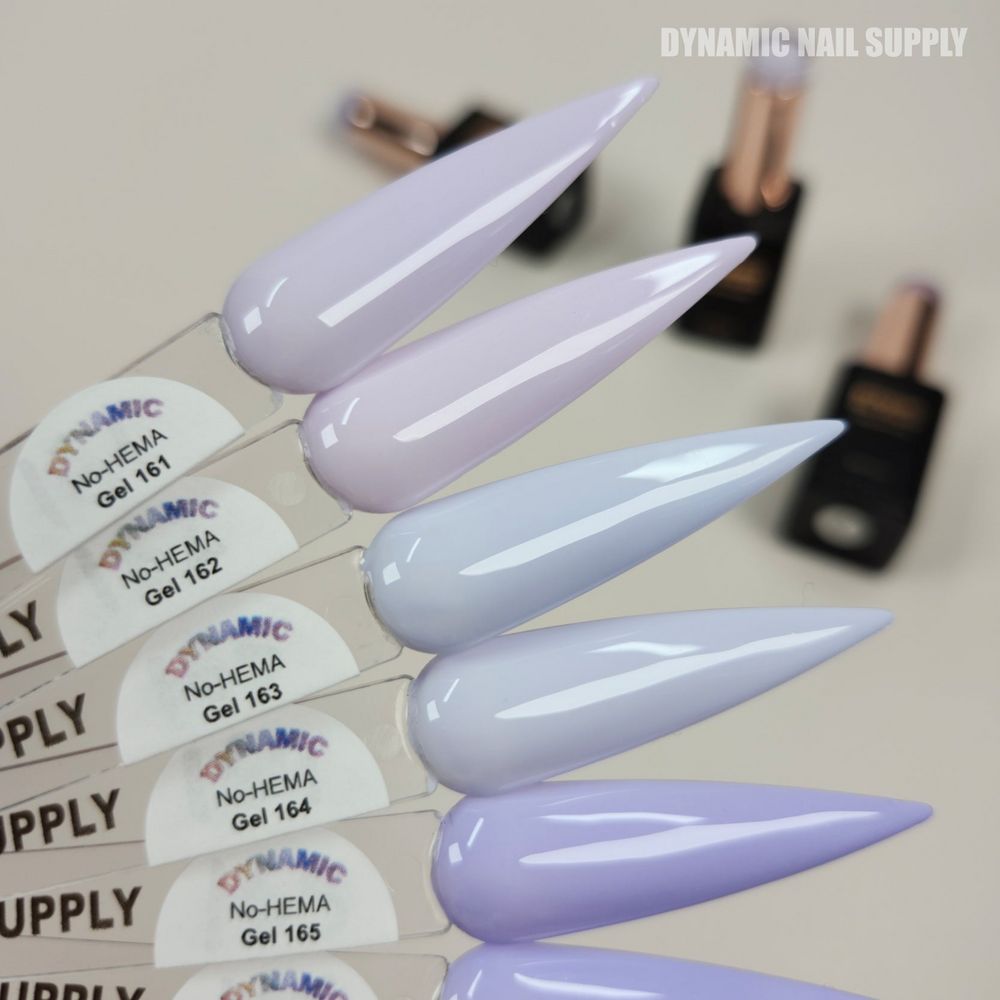
Finishing tips to keep lines sharp on short and long shapes
- Short nails: reduce smile line width and use a straighter curve to make tips read clean and modern.
- Long nails: slightly deepen the lavender at the curve to create depth while keeping the base translucent.
- If a line blurs, do not overwork uncured product — lift gently with a clean tool and reapply a thin bead, then cure.
- Use thin passes and full cures; undercured layers shift when you add more product.
Signs to replace a bottle or the brush
Replace a bottle when it thickens so much that thinning no longer restores a smooth flow, or when color separates and can’t be mixed back to uniform consistency. Replace if the brush frays, loses shape, or leaves bristle lines that affect the smile edge. Also retire bottles that develop a persistent skin or bits of cured gel inside despite careful storage. Prices may change and the set runs from $8 per color to $80 for the whole set.
Special attention: No-HEMA Gel 161
No-HEMA Gel 161 is one of the palest lavender tones in this cohesive cool-toned row. It reads very pale and slightly milky in application, making it an excellent choice when you want the smile line to sit subtly darker than a pale blue base without reading purple-bright. Use 161 for delicate tonal transitions or as the deepest step in a three-shade gradient. Because it’s a cream finish, it cures to a uniform high-gloss look that matches the other bottles in the set.
Mini glossary
- Smile line — the curved border between the free edge and painted tip.
- Thin pass — a deliberately light layer to control opacity.
- Decant — move a small amount to a palette for precise work.
- Cure — flash the layer under UV/LED for the recommended 60–120 seconds.
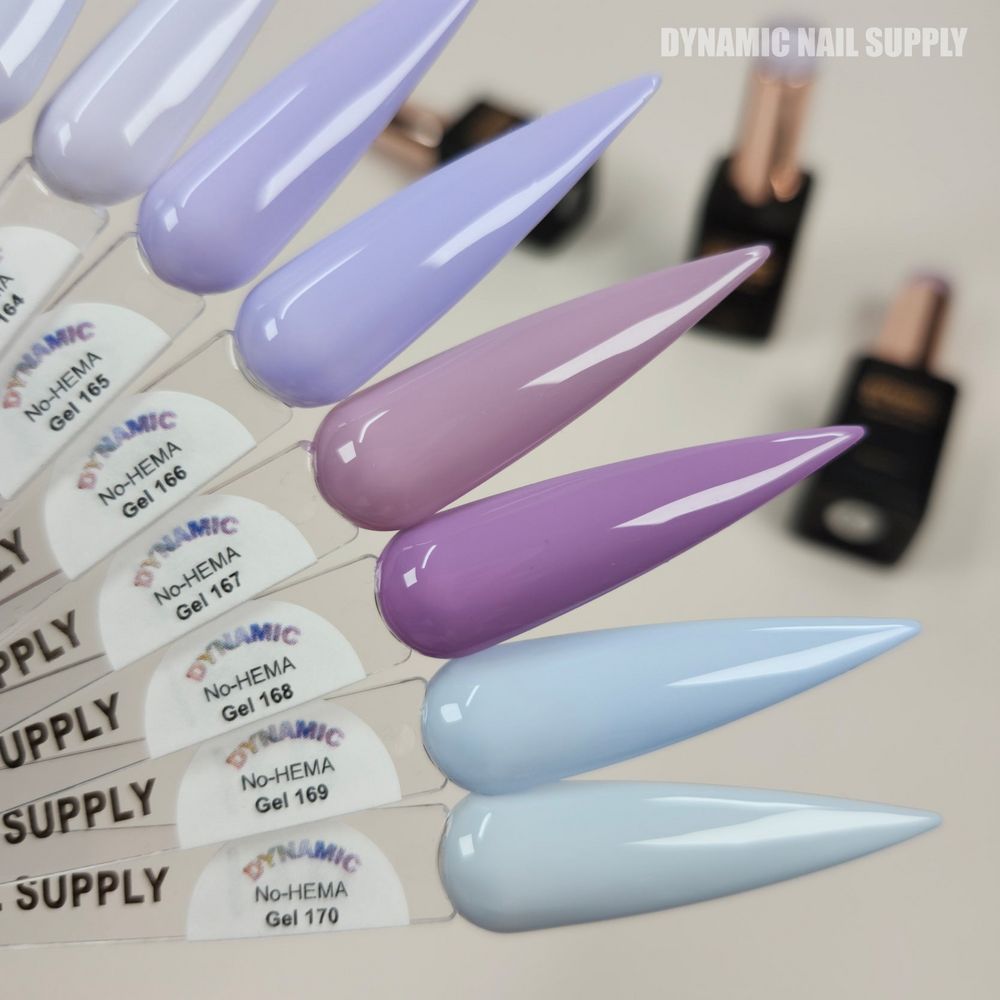
Safety and handling
Keep bottles tightly closed and avoid skin contact during application. Use proper ventilation in your workspace and wipe any uncured spills promptly. Dispose of lint-filled wipes safely and keep products out of reach of children. Follow lamp manufacturer guidance for curing times.
For the exact palette and to stock your station with the matching pastel set, see the product details here https://dynamicnailsupply.com/products/dynamic-no-hema-gel-polish-color-161-to-170
One-line takeaway: Store cool, work thin, cure fully, and replace bottles that thicken or fray their brushes.